
Two months worth of Odining
Mainly odin-c-bindgen and Karl2D updates!

Hi, hello! It’s been two months since the previous newsletter! This time I’ll mainly touch on two things that have happened since last time: The release of my bindgen rewrite and details on some Karl2D progress.
odin-c-bindgen 2.0 released!
I spent most of October rewriting my binding generator from scratch. Why did I do that? Because the code had gotten too messy, it was hard to fix bugs without stacking hacks upon hacks.
odin-c-bindgen takes C library headers and generates Odin bindings. The generator is meant to be easy to configure and produce nice-looking bindings that are easy to navigate while retaining comments.
One problem with the old implementation was that it used libclang things here and there all over the code. There wasn’t a clear “pipeline”. The base design for bindgen 2.0 is that I first fetch everything I need from the C headers using libclang. After that stage libclang isn’t used at all. From there on, it’s a lot of processing of the data until it’s all finally outputted.
I wanted the generator to be possible to use for two things:
Quickly testing out a C library within an existing Odin code base.
Using configuration options to make the bindings as close to production-ready as possible.
(1) is important because there may be 3 different libraries that don’t have Odin bindings, and you want to quickly see how those libraries would integrate with an existing Odin code base. Then you’d want to make quick & dirty bindings, just to try things out. If you have to create bindings for each library by hand, then you are actually likely to settle for the wrong library, due to not having the energy to hand-author all those bindings.
In order to prove that (2) was possible, I decide to try to make Raylib bindings that were as close as possible to the Odin vendor bindings. As I did that, I had to add a few features here and there. You can see the generated Raylib bindings here.
One feature that was important was the “footer feature”. Say that you are generating bindings based on the C header
raylib.h.In order to make the bindings really nice to use, you may need to do a few custom Odin things. For example, perhaps you want to add a custom Odin allocator that is compatible with the library. I made it so that you can put araylib_footer.odinfile next to theraylib.hfile. The stuff in the footer will simply be pasted at the end of the generated bindings. Simple, but effective.
See the release notes for the new version here.
Karl2D progress
The Karl2D library is coming along nicely. I have slightly less time to spend on side-projects recently, due to a part-time contracting job. Nonetheless, some great progress has been made!
OpenGL backend
I’ve made an OpenGL backend, meaning that you can now use D3D11 or OpenGL on Windows. Soon I will also add Linux windowing, and on that platform use the OpenGL backend for rendering.
By “backend” graphics programmers often refer to the part of their renderer that takes care of talking to the GPU using an rendering API such as OpenGL, Direct3D, Vulkan etc. A library that has multiple backends must be written in such as a way that the shared parts of the library don’t directly use things from specific rendering APIs. The backend is abstracted away, so that the shared parts of the renderer work no matter which backend is used.
I realized one important thing when making the OpenGL backend. It is a lot nicer to first write a D3D11 backend and then move on to OpenGL. I think D3D11 is the best API for learning graphics programming. It has reasonable amount of features while being very discoverable. If you want to understand a certain feature of the API you can often just look at an API function and then look at any structs that the function refers to. With OpenGL things are not so simple. OpenGL uses lots of generic constants that can be used in very arbitrary ways. It is hard to guess how to do the right thing.
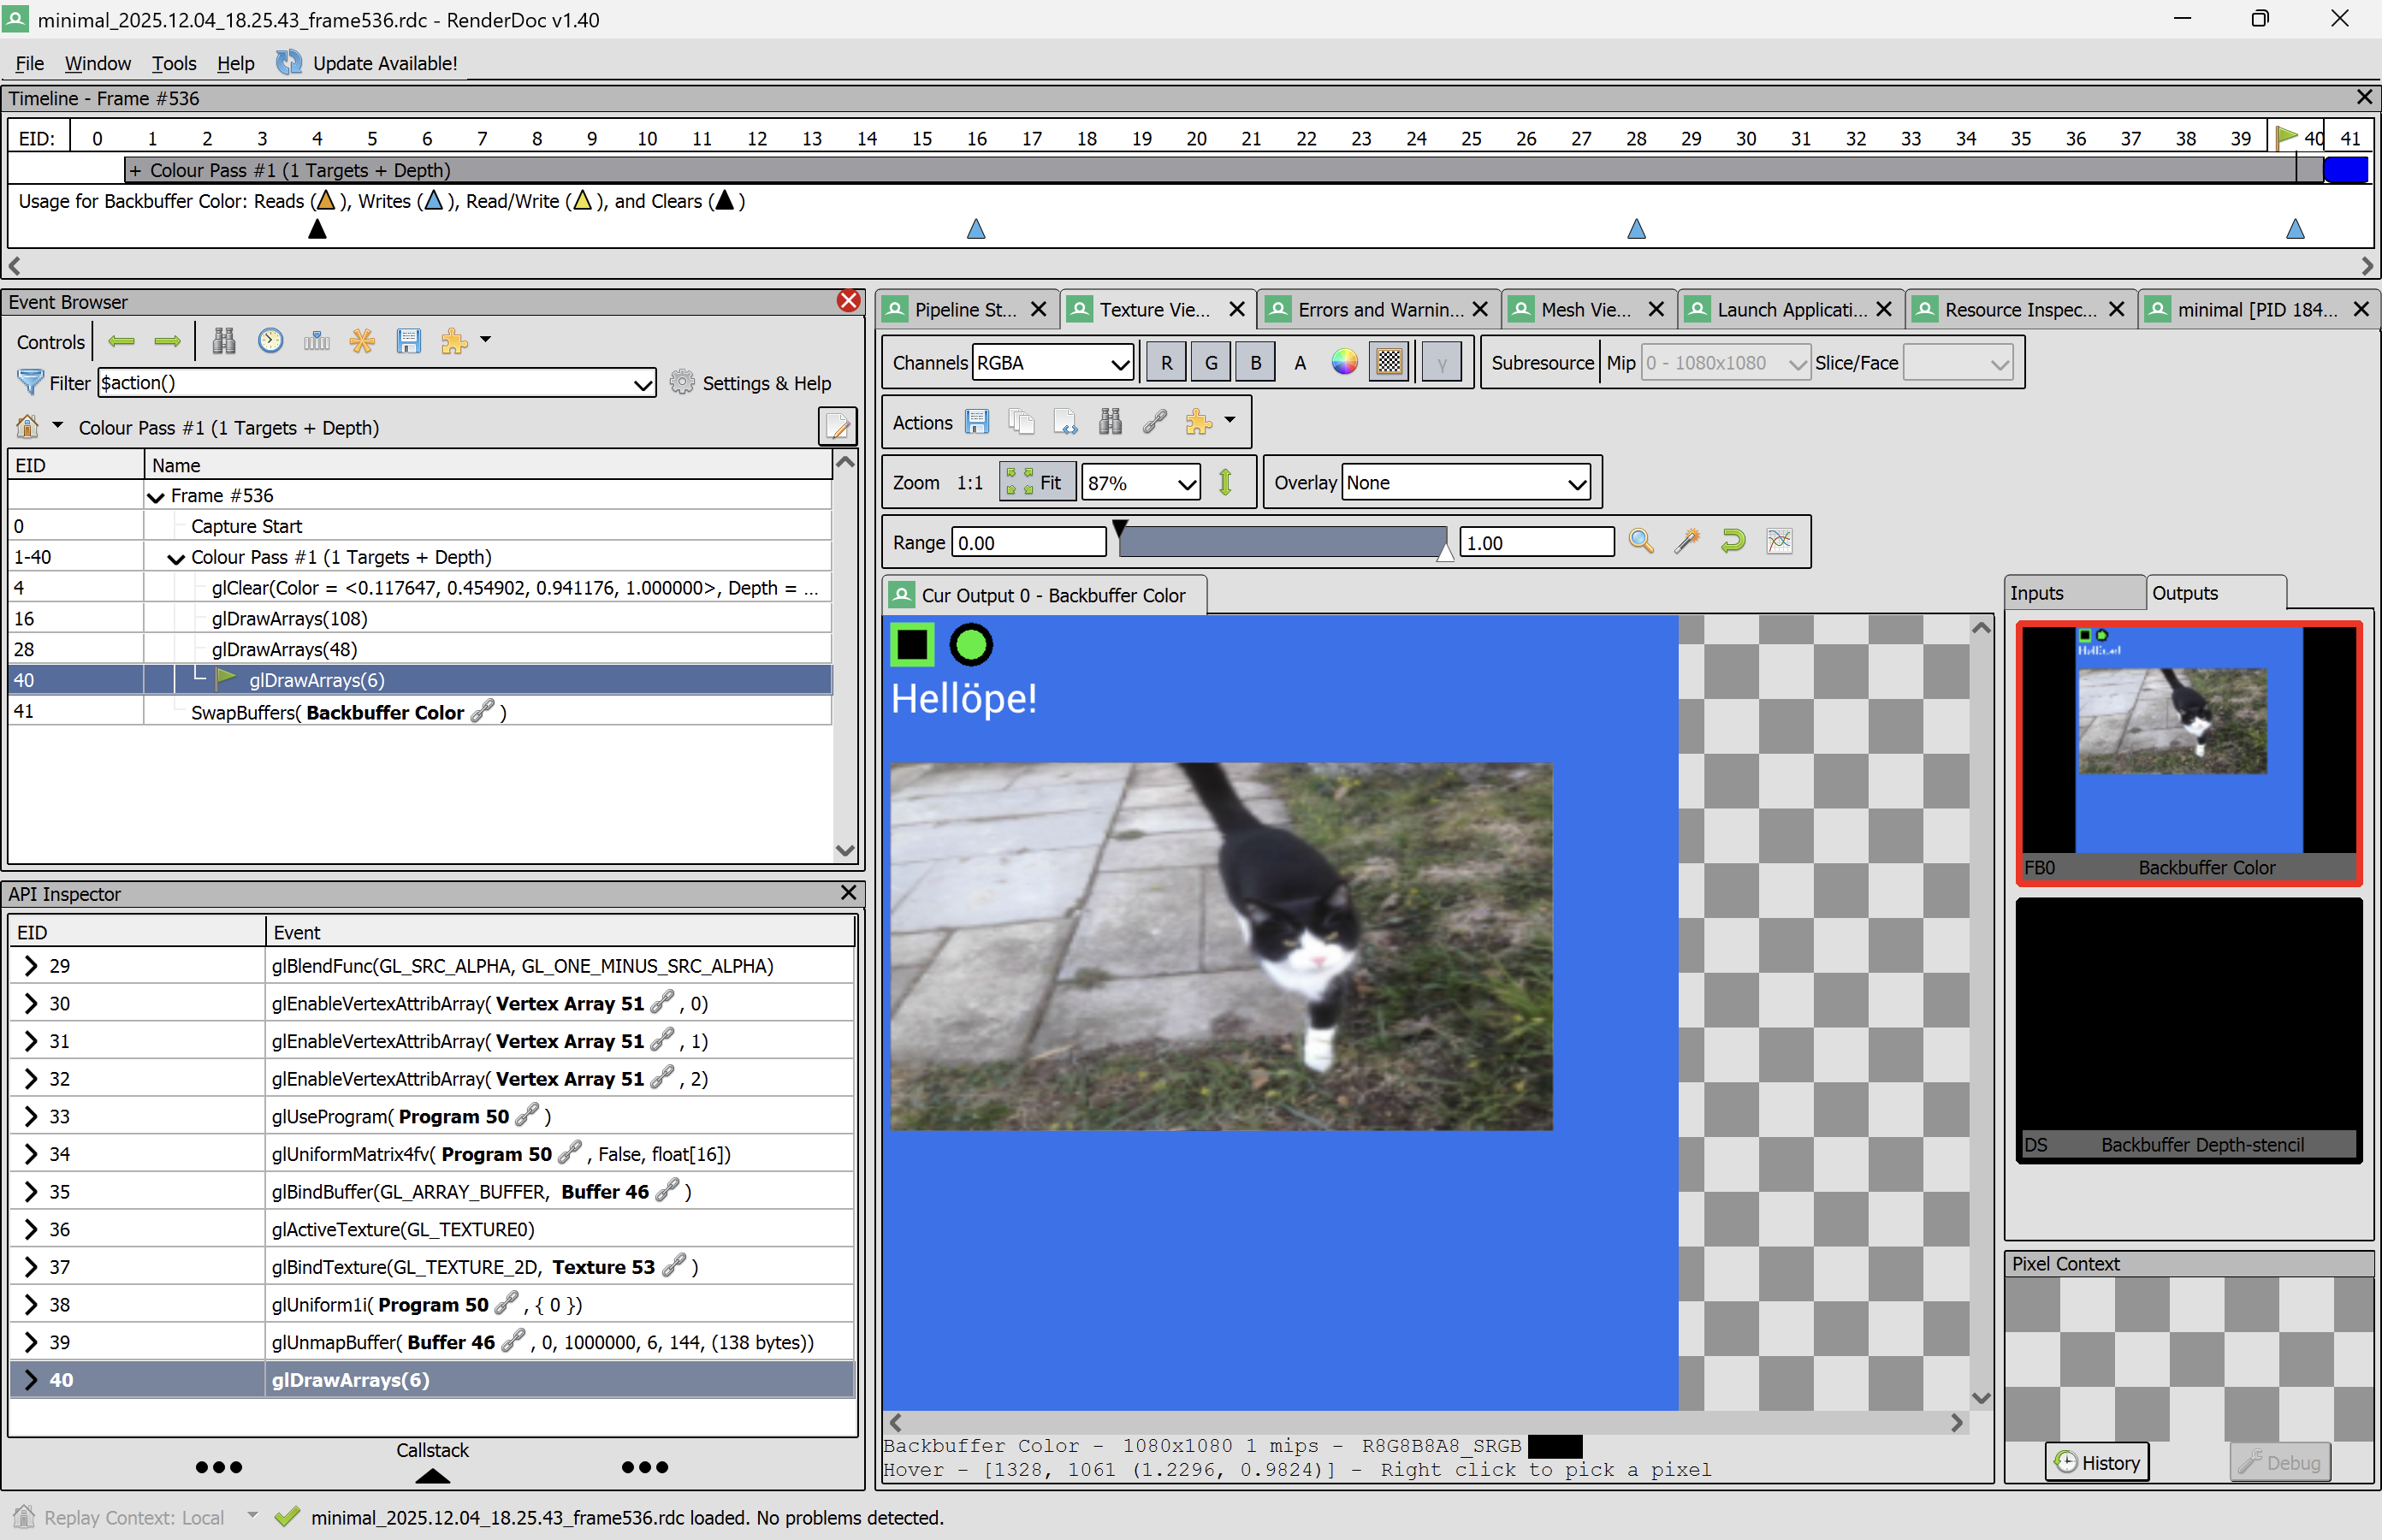
When implementing the OpenGL backend, a lot of my time was spent on staring at my D3D11 code and trying to come up with something similar in OpenGL. I often did it step-by-step. For example, when setting up the rendering of a draw call, I first got my data uploaded to the GPU. Before writing any more code, I used RenderDoc to check that the data had arrived to the GPU correctly. Then I added code for setting OpenG shaders, uniforms etc. At each step I tried to verify what I had done using RenderDoc. This made graphics programming a lot more fun! No more was it “write a lot of code and then debug it for 5 hours”. Instead it became: “Try to make your GPU do a bunch of tiny tasks and verify each step, if possible”. This made the code better. It often worked on first try.
Creating the OpenGL context
Many people use libraries like GLFW in order to create the OpenGL context. The OpenGL context is platform-specific. It’s the bridge between your OS window and OpenGL.
I try to minimize the number of dependencies, so naturally I wanted to try without anything like GLFW.
Bear in mind that I also do the windowing myself. On Windows I use the win32 API to create and manage windows. So there is platform-specific windowing code, and then there is a tiny bit of platform-specific OpenGL code that creates the context.
On Windows, creating the context is a lot about picking a compatible “pixel format”. You can see the file that implements my Windows OpenGL context here. It’s not a lot of code, so I’m happy I didn’t give up and use GLFW.
There are a few peculiar things however: In order to get RenderDoc to work with GL I had to use the win32.wglChoosePixelFormatARB procs to help me choose pixel format. Funny thing is: That procedure is an extension, and in order to fetch extensions, you have to already have a valid OpenGL context. So first I have to create an OpenGL context using the “old school” way that is incompatible with RenderDoc. Then I have to use that “dummy context” to create the context I actually want to use. Silly!
Render Textures
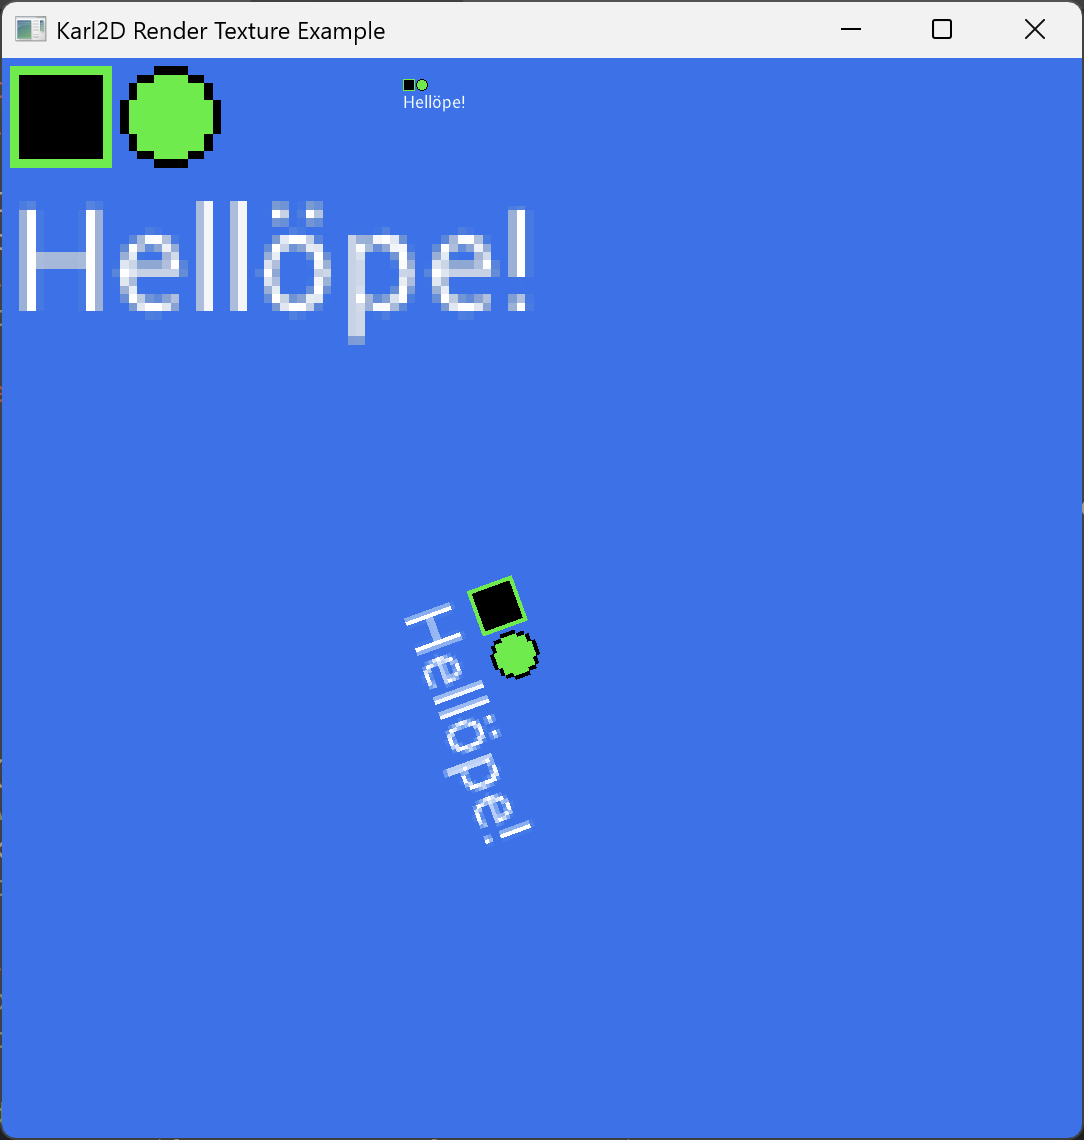
I added support for drawing into textures, as opposed to drawing to the screen. You can see how that feature works in the render_texture example.
I still need to implement render textures in the GL backend.
Pre-multiplied alpha
In order to make blending look better you often have to use pre-multiplied alpha. This means that you multiply the alpha value of a texture’s pixels into the RGB values of each pixel. Then you modify how the blending is set up so that it takes this into consideration.
Pre-multiplied alpha can sometimes make your rendering look better. If you notice black fringes around your half-transparent pixels, then chances are that using pre-multiplied alpha would help you.
Many projects start out with using “normal alpha blending”, because they don’t have a pipeline to do the pre-multiplication yet. In my premultiplied_alpha example I show how you can easily get going with pre-multiplied alpha by telling the texture loading procedure to pre-multiply the alpha for you:
tex := k2.load_texture_from_file(”plop.png”, options = { .Premultiply_Alpha })To make it correct use these pre-multiplied textures, you just have to change the blend mode from .Alpha to .Premultiplied_Alpha:
k2.set_blend_mode(.Premultiplied_Alpha)Setting texture sampling mode
When the GPU draws pixels from a texture, it’s said that it samples them. You can specify sample mode, for example you can use “point sampling” to preserve the pixlyness of an image. You can use “linear sampling” to smooth the texture when it is has been scaled up.

Point sampling is the default in Karl2D as many people make pixel art games, or just find smoothed textures ugly. I’ve added so you can set the filtering on a per-texture basis by writing:
k2.set_texture_filter(tex, .Linear)In OpenGL this was fairly simple to implement: For each texture in an GLSL shader, there is a single sampler. So it’s easy to associate a sampling method with a specific texture.
In D3D11 however, you create samplers and textures separately in the shader. This means that you can have 1 sampler used by 2 textures. And you can only set the sampling method to a single value… So now, if someone makes a custom shader, then they could easily end up with a configuration that does not work with per-texture texture filtering configuration: A sampler can’t be in two states at once!
I went back and forth a lot on what to do about this. In the end, I decided to implement some verification code in the procedure that loads HLSL shaders: If you have a texture in HLSL texture register 1, then there must be a sampler in HLSL sampler register 1. This makes D3D11 behave a bit more like OpenGL.
I don’t enforce a single shader programming language. Instead I use the shader language that is native to each rendering API. I will provide default shaders for each shader language. However, if you want to write your own shaders, then you may have to write multiple versions of it.
However, I do plan to add a cross-compiler toolkit that you can use. But that is a later problem. That cross-compiler will sit outside of Karl2D and Karl2D will accept the result of such a cross-compilation. This makes sure that Karl2D avoids weird assumptions about shader languages and enforces fewer dependencies.
Another thing to consider is what happens when you need to finally ship a game. Then the idea of having shaders that you can “write once, run everywhere” sometimes bites you in the foot. You may very well need to write custom shaders for some platform, in the shading language native to the rendering API it uses. With my solution you can do that when the need arises. This follows my main design idea for Karl2D: “Easy to get started with, helpful when you need to actually ship a game.” — Many “easy-to-use” libraries end up being troublesome when you need to ship. I’m trying to avoid that.
The future
I’m tinkering with something I haven’t announced yet. More about that next year.
I also have a contract job for a few months, so my open-source projects and YouTube productivity has taken a hit. I’ll be back!
In the coming months I’ll try to get Karl2D to a state where I feel comfortable with doing a first big round of tests.
Have a nice December and happy holidays!
/Karl Zylinski